
- Joined
- Apr 25, 2025
- Messages
- 100
After doing the three thermal cycles of the blade, it is then heated again to barely magnetic and the lower half of the blade is quenched in warmed canola oil, moving the blade back and forth leaving the spine out of the oil for a bit. Once I feel the lower half of the blade is properly quenched, then I can submerge the whole blade. After pulling the blade out of the oil to cool. I wipe off the oil, give it a file test and prepare to temper.
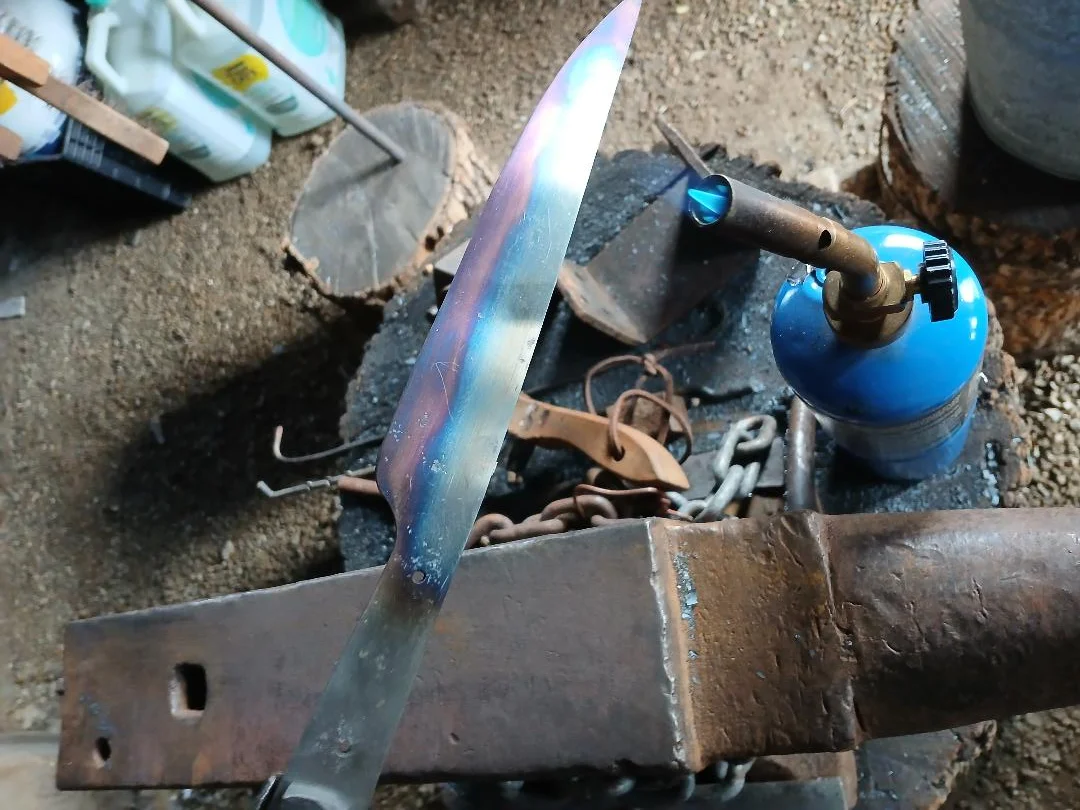
I use a propane torch on low flame and s-l-o-w-l-y run the flame up and down the spine and occasionally near the tip. Being the tip is thinner, it would heat up faster. I watch the colors until I get to that purple changing to a straw color along the whole edge then quench the blade back in the oil to stop the process. I keep a wet rag handy as if one area seems to be heating up faster, I can touch the wet rag to that area to slow it down. Now it is time to wipe off the blade, go over the blade with 320 sand paper to remove the tempering colors. The blade ready to have a handle put on and and finish the handle.
I use a propane torch on low flame and s-l-o-w-l-y run the flame up and down the spine and occasionally near the tip. Being the tip is thinner, it would heat up faster. I watch the colors until I get to that purple changing to a straw color along the whole edge then quench the blade back in the oil to stop the process. I keep a wet rag handy as if one area seems to be heating up faster, I can touch the wet rag to that area to slow it down. Now it is time to wipe off the blade, go over the blade with 320 sand paper to remove the tempering colors. The blade ready to have a handle put on and and finish the handle.


